Of course ... Give me a couple minutes.
Edit:
Okay, so the very first thing to do is to make sure your pen settings are correct.
Make them match the following settings ...
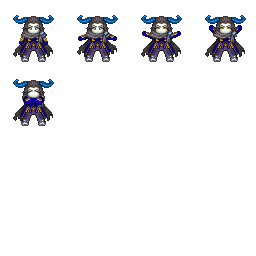
Then, decide on a logical path for your stroke. In this example picture, you will see a chibi character I created sometime ago. Now, you're a beginner, so you're not too skilled at adding new anchor points and dragging them I assume. This much said, your best bet is to keep your individuals paths short. In the following photo, I went from armpit to armpit. That is probably too much for you to handle right now, but If you were doing the same project, I would recommend his armpit to his shoe.
After creating your path, you need to add some new anchor points in order to create your curves and your outline. You achieve this by right-clicking anywhere along your path and selecting the "add new anchor point" option from the drop down list.
After adding the new anchor point, you need to relocate it to add shape. This is done by placing your cursor over the anchor you wish to move, and holding the "ctrl" key as you drag it to it's new location. MAKE SURE YOU'RE HOLDING "CTRL."
You will notice that each time you move an anchor point, it also curves and moves the previous anchor. In order to maintain the outline while adding all of your new anchors, you need to hold "CTRL" again, but this time drag the anchor's little buddy. When a curve is made, that anchor has a little buddy. By lengthening or shortening that line (or rotating it's angle) specific changes will take place.
You'll have to play with them to understand the product yourself.
When you finish making your path, select your brush tool and make all the necessary settings to fit your desired outline. Then, reselect your pen tool, and right click. This will bring that drop down menu back. Select the stroke function to create your outline.
Repeat this process until you have finished work.


